|
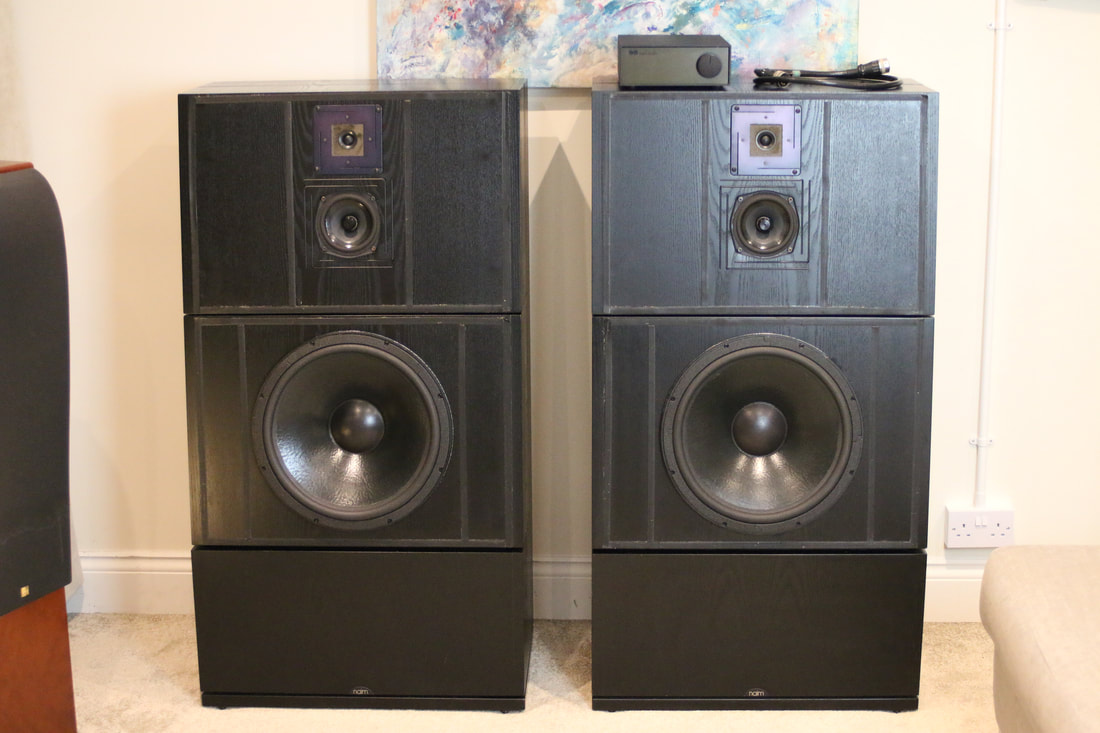
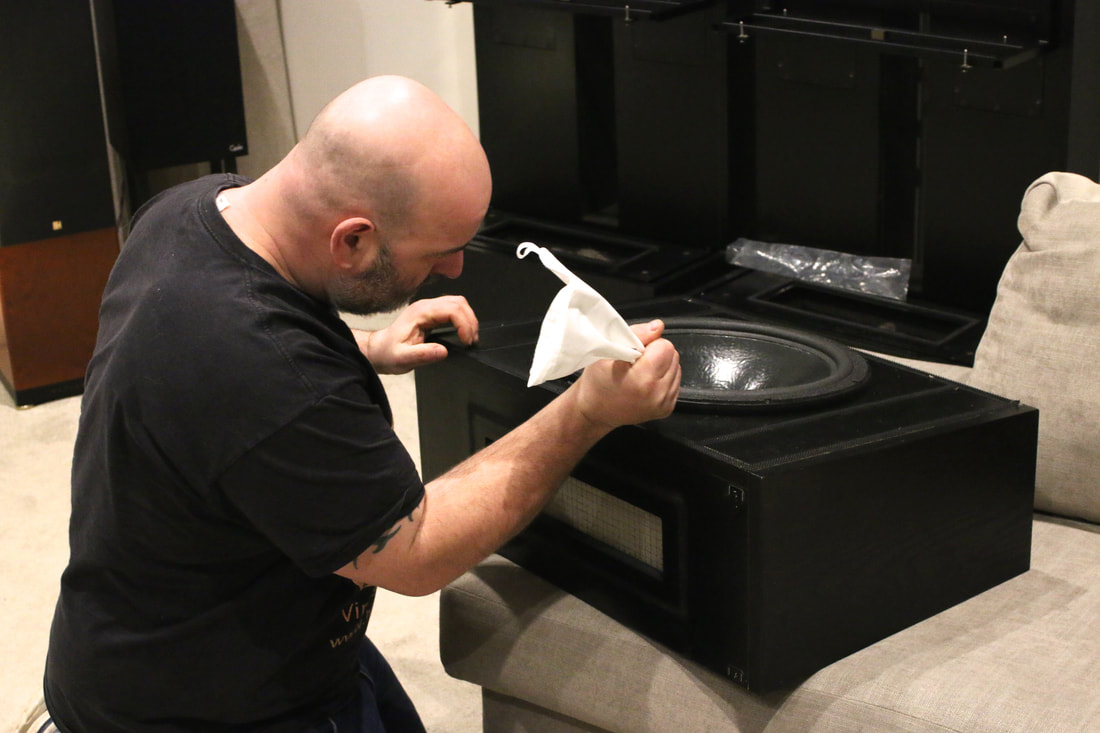
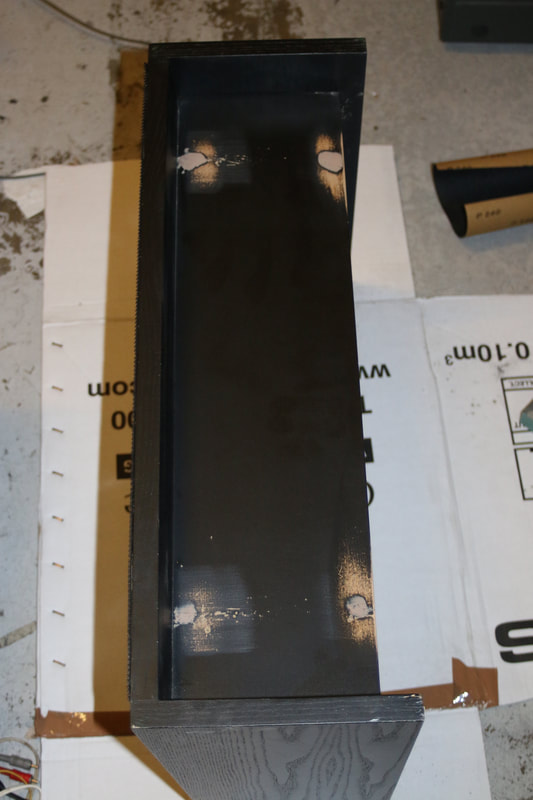
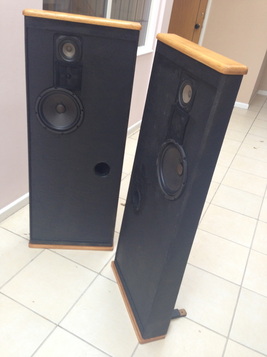
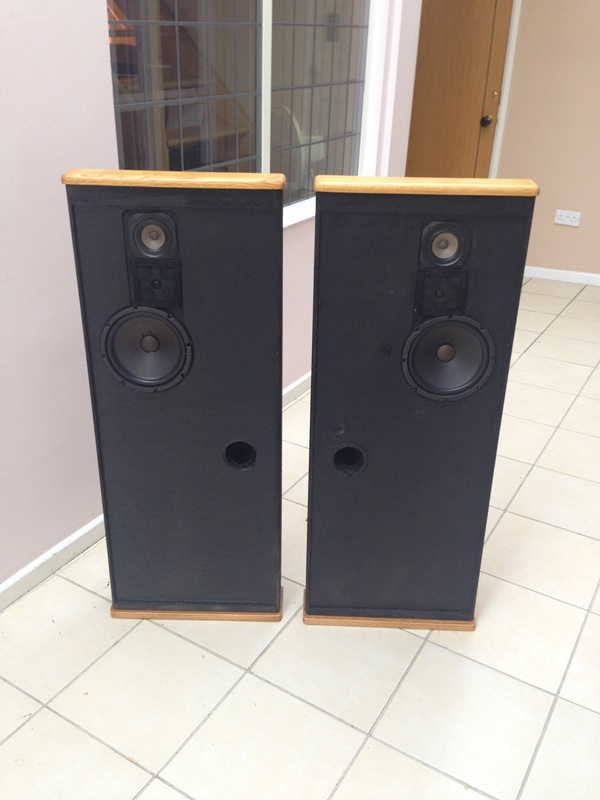
Recently, we had a pair of the truly monstrous NAIM DBL speakers in. They came with the SNAXO crossover, but were in need of some TLC. The drivers, which were ATC units, needed a re-foam and the cabinets needed a little effort, to bring them back to their former glory. So we set about filling the spike holes in the bottom of the cabs with car body filler, while we waited for the correct foams to arrive from America.
0 Comments
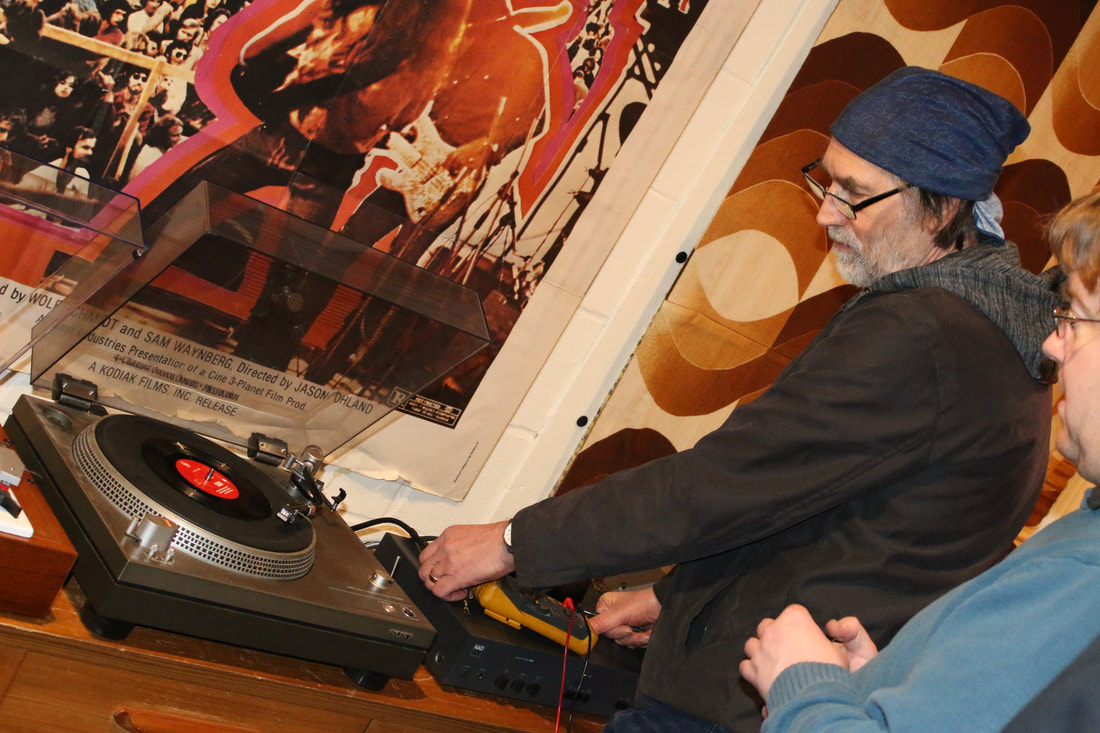
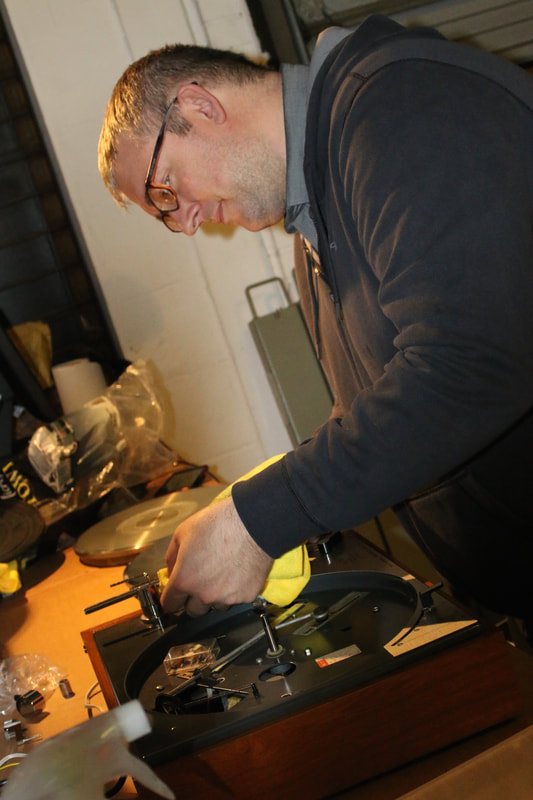
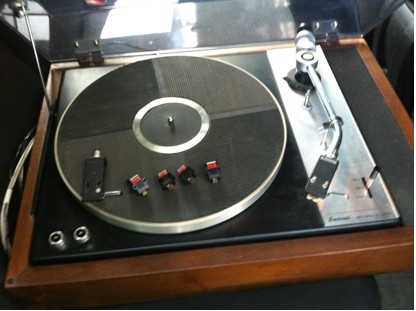
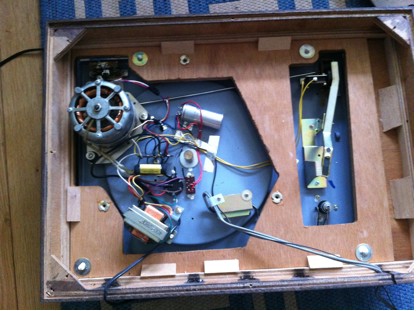
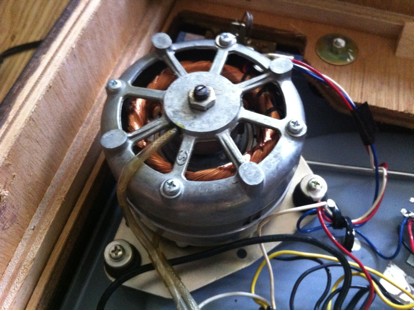
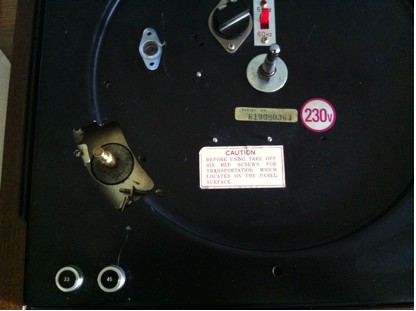
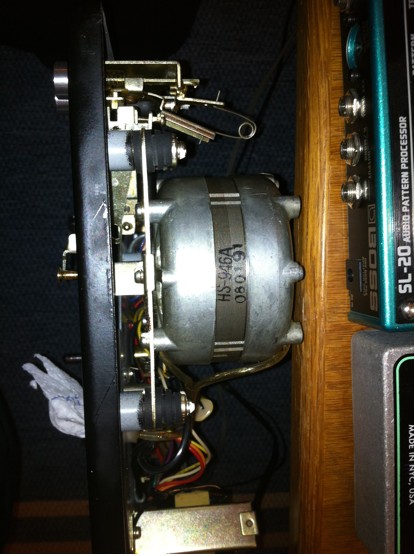
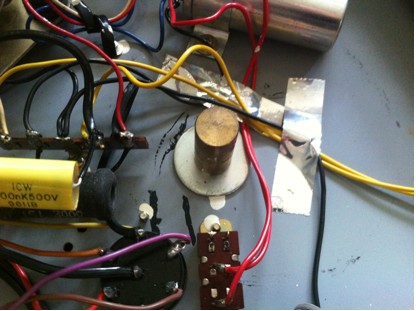
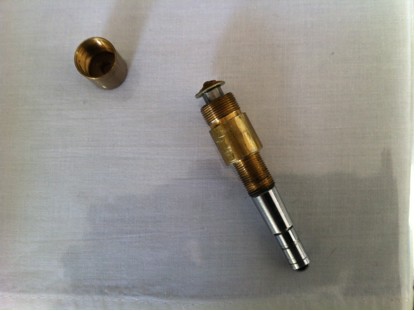
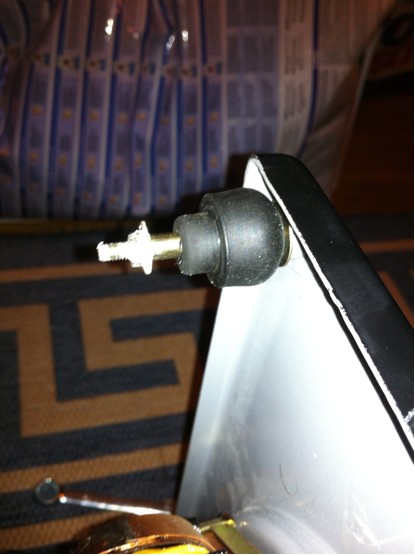
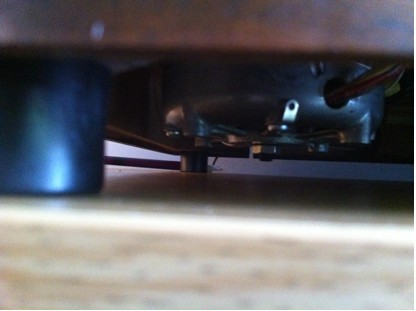
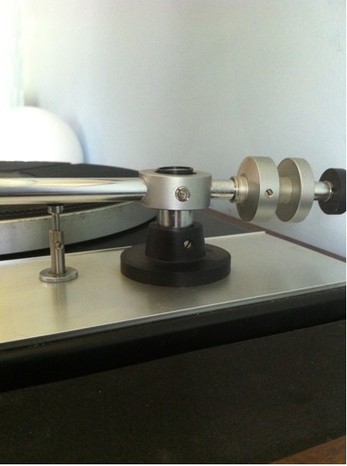
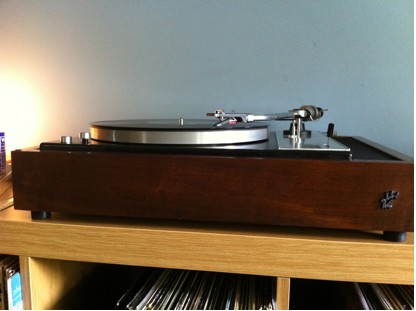
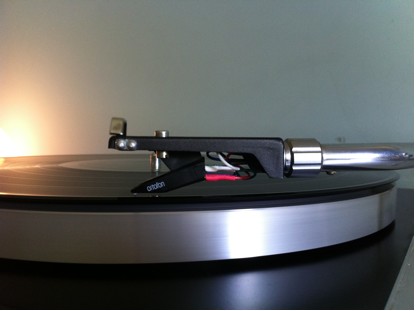
A couple of months ago I was visiting my favourite shop – HiFi Hangar. I needed a headshell and some information for my friends Clive Robinson, CliveUK over on the vinyl engine forum. He’d acquired a beautiful Sansui SR-4040 but it had no headshell or belt. Steve mentioned to me that he happened to have the same deck in the store, as I needed to confirm what size belt it took. These decks date from the late 60's and are early examples of the age of Japanese belt drives of which models such as the Pioneer PL12D are classic examples It wasn’t exactly the same model, in fact one or two marks down, but I immediately fell for the Sansui SR-2020BC that Steve and Sara had in the shop, and Steve offered it to me at a very good price. I do have quite a few decks, but I like a challenge and this one is a beauty. I figured it might also help in assisting Clive with his. Steve also had a spare headshell in his drawer, that was the right type for the 4040. So I went in to get a headshell for a friend and to measure a belt, and I emerged with a headshell and a new deck, and some Shure Cartridge bodies for good measure. Happy day. Steve said that he’d had some issues getting the speed right on the deck, but I’ve done some restoration work on other 70’s decks such as the Pioneer PL12 and reckoned I could sort it out. I do love older styled decks, like the Thorens TD150, The AR XA and the Telefunken S500 and this had much of that styling. The plinth is quite wide and nicely made from veneered ply. The speed selector buttons and cueing lever have an industrial feel. I even like the quartered mat. The deck is like other Japanese belt drive decks but made to a slightly higher finish. The plinth is ply wood, rather than chipboard, the motor is huge. I tried it out at home, at least to check it spun. There was some vibration through the top plate from the motor, and the speed was way off when measured with a strobe disk. Taking a look inside, having removed the mat, platter and headshell and laid the deck in its lid on a soft surface. You can see in the picture a pretty simple tidy deck. Nice plywood plinth, substantial top plate, but what stood out for me was the size and quality of the motor The two clear tubes are independent oil feeds to the motors top and bottom bearing, fed from a cup, which is accessible from beneath the platter. The pipes looked a bit hardened and kinked in a few places. You can also see how the motor sits on three rubber bushes, like many other Japanese designs from this period. These rubber mounts can harden with age causing the motor to sag lower, and have less isolation from the chassis. Possibly this was why the motor was fouling against the cut-out in the baseboard Here you can see the tiny oil cap in white nylon to the left of the spindle. This picture was taken after I removed the speed selector arm adjacent to the motor spindle . Here you can see the size of that motor , the rubber mounts and the oil pipes A pretty solid looking bearing, which actually is in two, parts and has a seam half way up. Removing it showed a captive ball bearing in a recess in the spindle end. A plastic thrust pad sits in the base of the bearing well, possibly Delrin The top plate of the deck is held in place by 4 rubber mounts, which sit in recesses on the plinth and have bolts with washers to keep the top plate captive. The deck had once had security bolts, which clamped the top plate to the plinth for shipping. I set about out a standard service i.e. clean and lubricate the bearing, new oil in the motor and to restore all the rubber mounts (3 motor and 4 from the top deck), and order a new belt. I washed all the rubber parts in warm soapy water, dried then put the mounts in a sandwich bag with a few squirts of Platanclene rubber roller restorer. Sealed the bag and worked the stuff into the rubber mounts inside the bag, the left for an hour. Once complete the rubber pieces are a darker colour and more supple. I reinstated the rubber mounts from the top plinth and from the motor. Some of the structure in the motor mounts was not exactly crumbling but had deteriorated, but the motor seemed to sit fine, and these components are impossible to replace without another donor deck. I fitted it all back together and again tried the motor. This time silent ! then I realised I still had the baseboard removed, and when I replaced it the vibration returned. After some pondering it appeared to me that the motor was fouling against the cut out in the baseboard. Possibly due to collapse in the rubber motor mounts the motor hung lower? Anyway with the base off it was a very quiet deck, motor noise virtually inaudible. I decided to initially try the deck with no baseboard, and fitted some rubber door stops at each corner to provide enough clearance. WARNING The baseboard does provide electrical safety from prying fingers, and there are mains voltages inside, so only do this as a temporary testing measure. The arm on this deck is very simple and rather industrial looking, with a split balance weight, presumably setting the zero point with the outer weight then adjusting the tracking force with the inner weight. One thing I did observe was some play in the vertical bearings. They use the inner grub screw with outer locking screw method, but even with the correct tool I couldn’t budge the outer locking screw so decided to leave these, worried I might sheer the screws completely. If anyone is expert in adjusting vertical arm bearings of this kind , I'd be very interested to hear from you.
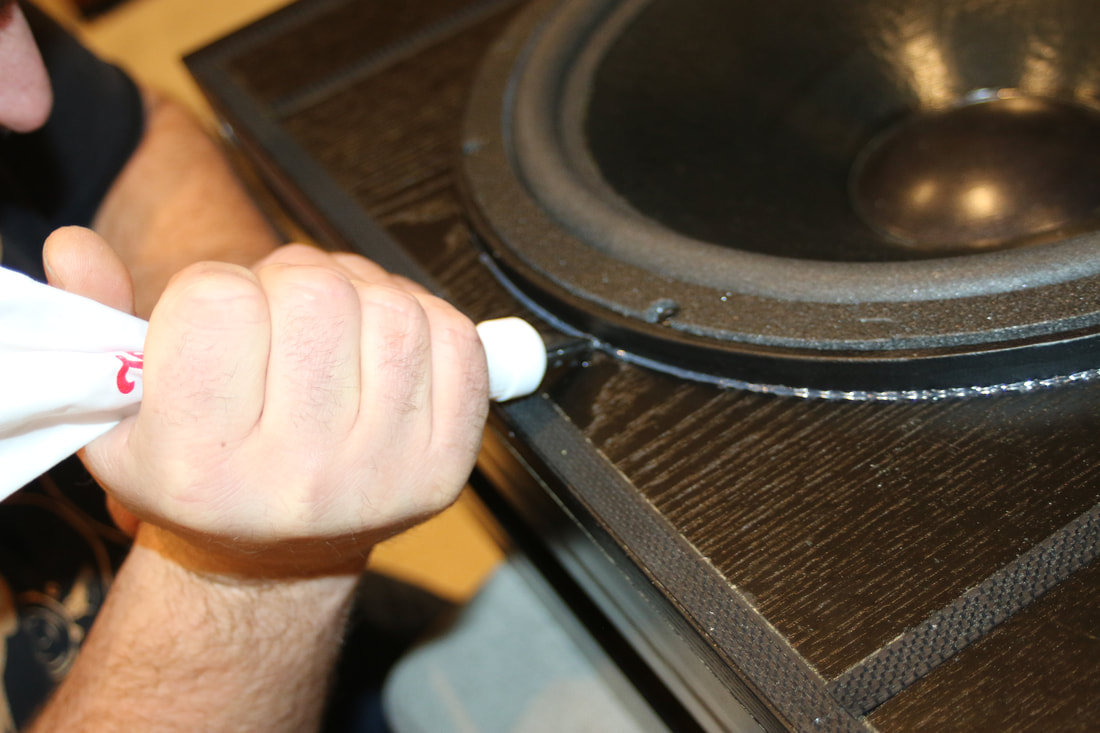
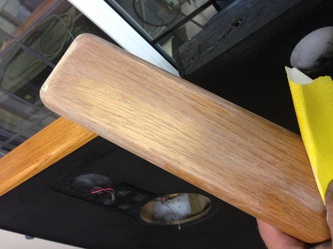
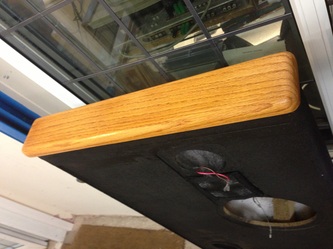
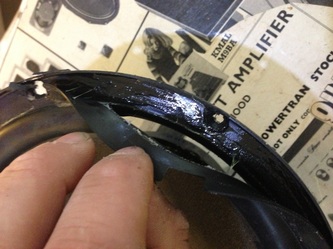
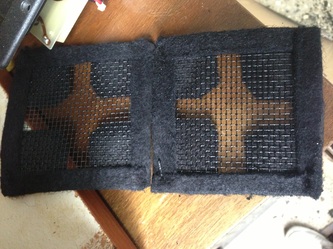
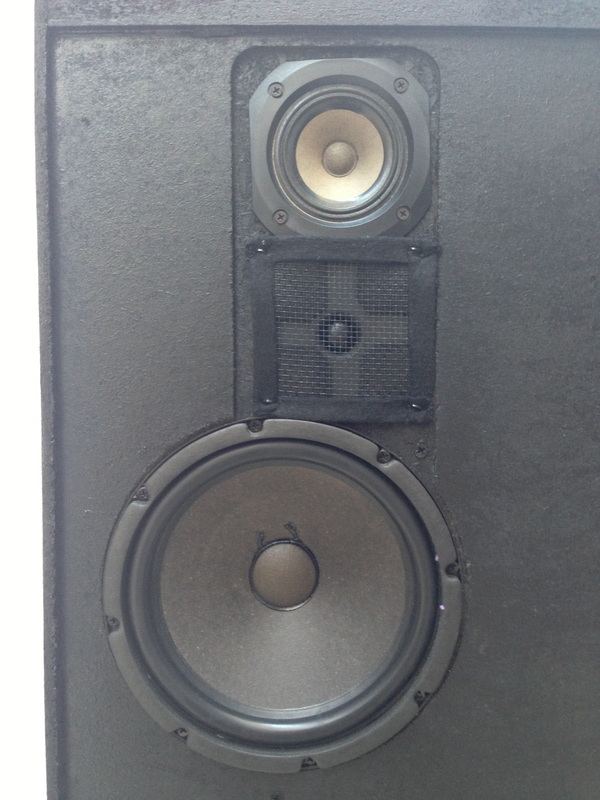
While this work was ongoing I’d ordered a replacement belt, which duly arrived. However like the old belt, the new one ran slow, even after cleaning and replacing the lubrication in the main bearing and a few drops in the motor cap. The belt it came with was 580mm circumference and the replacement 600mm I had a few old belts and though worth a try, and found a thinner and smaller circumference (546mm) belt marked Thorens. This belt sorted out the speed problem. There was still some very gradual drift i.e. slowing, but it was pretty good, whereas with the apparently correct belts the speed was very slow? I could hear a soft scraping if I listened closely with the mat off, and decided that the speed selector arm was rubbing the edge of the belt. After some deliberation, I decided to remove the selector arm as a) I don’t often play 45, and b) I could manually move the belt up the spindle. My reasoning was that I couldn’t seem to adjust either the arm or the spindle on the motor to entirely stop the arm rubbing the belt. I kept the arm and it could be refitted though it was a pig to get off. It silenced the scraping but the slight speed drift was unchanged, I initially fitted an M75 cartridge in a headshell and tried the deck. Sounded pretty good straight off, very direct driven sound, perhaps not as spacious sounding as my Pioneer, but certainly sounded good. Clive suggested that the arm is not as heavy as it's Industrial looks suggest, and is actually at the lighter end of the spectrum, thus better suiting a higher compliance cartridge. I dug out an old Ortofon OM20 I had, fitted it in the original cartridge and it started to sing. I would like to get those vertical bearings tighter as there is a degree of slop there, but otherwise it’s a pretty nice sounding deck, and it certainly looks the part. 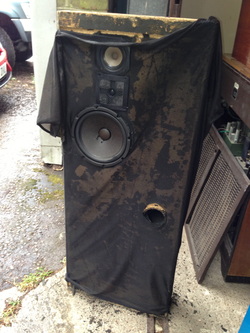 With the outer 'Socks' removed. With the outer 'Socks' removed. We purchased the speakers in original, working condition, with the outer socks fitted, but with a couple of holes and scuffs, so the socks were removed by taking off the top and bottom solid wood end caps, to reveal the inner cloth and nasty rotten foam covering. We cleaned off the old foam with a stiff yard brush, and re-sprayed the entire enclosure in black satin paint, this is because we were only going to use one sock, and do away with the inner cloth, so we needed a black finish, otherwise the light wood would show through the new grill cloth. 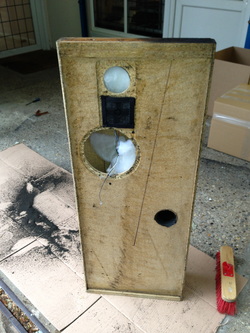 Rotten foam removed ready for painting. Rotten foam removed ready for painting. The end caps were sanded down, to remove the old varnish, we then gave them two coats of button polish, which gave a very pleasing satin finish and really brought the grain out. All the drivers were straightened in the baffles, as they were installed quite badly in the factory, the mid and tweeter in one, actually overlapped! this mistake was covered up, by simply filling the hole with sealant.. not good enough in our books. The black wire grills on the Vifa tweeter were also all wonky, so we removed them and re-sprayed them, and stapled them back straight, we also hand painted each staple, so it would not show through the new 'socks'. 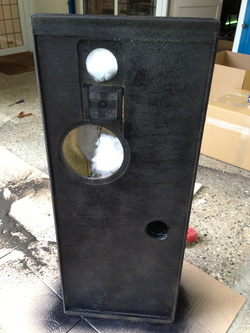 undercoat on and drying. undercoat on and drying. The bass units' glue had failed, so the surrounds were lifted and re-glued, giving them many more years life, they are rubber, unlike some of the other DCM models, so re-foaming is not necessary. The speakers are now all back together and sounding superb, all we have to do now, is make the new 'socks' on the sewing machine, by simply copying the original, but using cloth of the highest quality. A set of spikes will then be fitted, and they will be for sale....when we have made the outer socks we will share the result. |
Author - Steve Ansell" This page, is to share what we feel may be of some interest to our fellow hifi junkies, It will cover articles and restoration projects from both us and our friends, please feel free to contact us, if you would like to contribute to this page.." Categories
All
Archives
April 2024
|
 RSS Feed